Showing posts with label Craft. Show all posts

Sunday, May 20, 2012

Pallet potting table.

Here is my new potting table!


I know this is not a sewn, knitted or spun item, but it is handmade so that's ok, right? Jamie and I spent the weekend building a potting table for our garden. My parent in laws were visiting and gave us a lot of help also with this endeavour. To be fair, Jamie is the total brains and brawn behind this creation, my role was more as the 'artistic director'. 

I have dreamt of having my own potting table ever since we moved to Newcastle and rented a house with a yard. Potting tables can be as unique as your garden is. Most often they are crafted from re-purposed materials that the gardener has managed to salvage from a local source. Random bits are nailed, glued and screwed together to create something for the garden that is functional, and in my case, pleasing to the eye.


This potting table is completely made from pallet timber I was able to obtain for free from a retired gentleman who lives near the town where I work. He builds chicken coops and bird breeding boxes in his spare time and was only too happy for me to take what timber I needed. I did offer to pay him for the timber, but he replied with a smile "I would be offended if you paid me, please take as much as you need". He spent almost 45 minutes with me discussing my design plans and selecting the perfect pieces for the project from his substantial timber pile.


Pallet timber is ideal for this kind of project. It is cheap, or possibly free, and is a standard size. Pallets are made from outdoor wood so this table will survive being exposed to the weather. What I also prefer is the timbers 'rustic' look. Every piece is weathers differently. Knots. Stains. Splinters. All slats are unique.


I am considering adding some nails or hooks to the upper part of the timber frame, to use as a place to hang my gardening hand tools whilst I am working. Rhonda also uses a potting box to prevent wasting some of her soil while she is potting. I am hoping I can whip one of these up with all the off cuts I have left.


Below is the photo I found on pinterest months ago that I used for the inspiration for this potting table. The table was made by Bruce at www.thedesignpallet.com. The image has been sitting in my Gardens folder for some time, waiting for me to get my hands on some pallets.


Jamie was really pleased with how similar his creation was to the inspiration photo...


We finished the potting table as the sun was setting, so I am yet to actually use it to pot any seeds. Winter is a difficult time to garden as night falls before I am home from work, leaving me unable to garden most evenings. Sometimes I do a spot of weeding before work, but that depends on the chill in the air and me not hitting the 'snooze' button. I am sure this table will get much use though next weekend!

Sam xox

Friday, January 28, 2011

What a clever husband.

I have been lusting after wooden thread racks for a while now. They seem to be an aesthetically pleasing way to store spools of thread. I also like the idea of having thread on display, it helps you remember what colours you already have, before you go out and buy more for a new project.

I hunted down some nice thread racks on American eBay that I thought were being sold at an affordable price. I showed Jamie. He looked shocked. I pointed out their awesome features to him in a bid to try and convince him to say "yes" to me buying the racks. Instead, he insisted he could make them for me himself and would have them finished before any internet purchases could arrive in the post.

Together, we sat down a drew up plans to make my ultimate thread racks. It looked good on paper.

We then spent a Sunday afternoon working with meters and meters of wood, drill bits, a saw, glue and sandpaper, and after a few hours we had two thread racks each able to hold 50 spools - that 100 spools in total!

I plan on buying some cord and hanging them both above my sewing table.


Thanks Jamie! Now I know your hidden talent I will be aiming much higher next time.

Sam xox

Thursday, December 23, 2010

Clever girls.

I think I have the cleverest girlfriends ever! Last night I was lucky enough to be the recipient of some beautiful handmade gifts.

Mill gave me these gorgeous cushions, both made from antique pink silk. One has mother of pearl button details. The other has a line of lace from her great-great-grandmothers stash!


The second gift was from Mel. Remember a while ago I posted about the blanket she was crocheting, and I was encouraging her to "keep going"? Well, she had been madly crocheting in secret this beauty...


Mel has spent the last few months making this blanket for me as a Christmas gift. She worked on this blanket during her commute to work. She worked on this blanket during a holiday down the coast. I am still getting my head around the hours she has spent making this blanket for me! It is so very beautiful and so very generous of her to give me this. It is also the first crochet item she has finished too which is extra special.

Thank you girls! I am in crafty-gift heaven!

Sam xox

Thursday, November 25, 2010

Knitted bell.

This bell was last years Christmas decoration. Mill was living in the US and we were trying to maintain our crafty Christmas lead up tradition. Mill sent me through a pattern that she pomised would be easy, even for a knitting illiterate like me!

This bell took no time to make, and requires only the basic knitting stitches. I knitted this in one evening, and with the help of Ally (who did the casting off for me) was able to hang it on the tree in time for Christmas.


I would recommend this pattern, as anyone who has knitted a couple of stitches would be able to do it! You can find the pattern here.

Let me know if you make one too, I would love to see photos.

Sam xox

Wednesday, November 17, 2010

Christmas tree.

It's that time of year again. Well, for me anyway. Yes, it is a little early but I just couldn't wait. Last night Jamie and I put up our Christmas tree.

When we first moved into our apartment years ago, we had a modest sized tree with a few decorations. Over the years we collected bits and pieces here and there, and developed quite a nice display on our tree. Last year, Jamie insisted we wait until the first week of December to put up our tree, because (apparently) the rule is that the tree cannot go up any earlier. Bah! Well, I played by the 'rules' and waited, and when the first weekend of December 2009 came around I raced to our garage to retrieve our Christmas goodies.

To my dismay I could only find half our Christmas tree. Yep, half, the useless bottom half that is cube in shape with a gapping hole in the centre where the top half of the tree is supposed to join it. We searched and searched but it appeared that the top half of the tree had vanished! We hit the local shopping centre in search of a replacement tree, but every shop had sold out! In a state of panic we went into Target, and saw a lady dismantling a display tree. We did the same to the only green bushy fake tree left. Fortunately the store gave us a 50% discount because it was the display tree. Unfortunately it was 6 foot 5 inches tall! A tad too big for our cosy apartment.

Jamie pulling the tree apart in the store!

Going from a tiny tree to a huge tree called for more tinsel and decorations. This led to a half hour 'debate' in Target around weather we have silver tinsel or gold tinsel for the tree. Jamie was adamant he wanted silver, and as I wouldn't budge on gold we agreed to get one of each, and had an interesting time that Christmas compromising on whose tinsel went on the top half.

Last night I dragged out the Christmas boxes from underneath the spare bed, and untied their ribbons with all the excitement of a child opening an early Christmas present.

My heart always skips a beat when I get the first glimpse of our decorations...


Every year I make a Christmas decoration. For 2007 I made a felt star. For 2008 I made a paper bell. For 2009 I knitted a bell. This year, inspired by a decoration on a tree in the October issue of (British) Country Living Magazine, I made a felt heart.


If anyone ever does come across the top half of my old Christmas tree, can you let me know?

Sam xox

Saturday, July 31, 2010

Dressmaking.

Phew, one week down in my new job. It has been so good but so challenging! Basically the role is one involving community outreach to people living with a mental illness, so visiting these peoples homes and working 1-on-1 with them has been very eye opening and a fantastic learning curve.

* * * * * * *

I have made some progress this week towards my no-clothes pledge.

At the beginning of the week my dressmakers mannequin arrived in the mail. I bought this one on eBay for a really good price, and it arrived at my house in just over 24 hours! I have it all set up and adjusted to my measurements, and have a very large piece of calico fabric to play with on it! I want to try and draft my own pattern for a top using pencils, scissors, pins and the mannequin. I have the idea in my mind, I just hope I can transfer it to reality.


My next step forward involved my very generous sister-in-law Ally (I will be introducing you to her very soon) sending me a book she couldn't give higher praise for, Design-It-Yourself Clothes by Cal Patch. You see, Ally is a fantastic sewer and makes THE most adorable clothes for her 18 month old daughter, buying simple patterns and adding different touches to make her daughters clothes have a vintage/feminine look. So this book? Well Ally was right - it hits the mark in terms of actually explaining in simple language how to draft your own patterns. The instructions are so clear and all the clothes featured I would actually wear, unlike those featured in "Sew U".


As if giving me this book wasn't enough, Ally pointed me in the direction of a dressmaking magazine website called Burda Style. They have a website full of information, patterns and inspiration, which you can browse for yourself at: www.burdastyle.com.

This website is fantastic! There are hundreds of patterns to choose from, and when your heart falls for one, you simply add it to your cart, pay your money (not very much) and then it is yours to download and save. You simply print the pattern off using your printer, sticky tape the pages together, and cut out to your size. There are lots of reasons why I like this method:
1) You can print out as many as you need, so all the fiddling with tracing the different sizes with your shop bought patterns is no more. Simply cut it to size, and if you are making different sizes, you can print it out again and cut it to the new size!
2) The patterns take up no space! Just store them on your computer and print them out as you need them.
3) You have instant access to a multitude of patterns, saving you much more time.
4) The patterns are all about 60% cheaper than in stores in Australia!

While waiting for a friend to finish work earlier this week, I browsed a newsagency looking for dressmaking patterns.

So excited to find the latest issue of Burda Style sitting there in the magazine racks that I took it home with me.

Sam xox

Wednesday, July 14, 2010

Granny squares.


Thank you so much for your kind wishes about my job. As some of you know I have had a lot going on in my personal life these past 12 months, which I will leave private. This job really does mark a new and positive chapter of my life beginning, and I am over the moon!

On the weekend I visited my crafty friend Mel. She is the kind of friend I believe every girl should have. Mel always has time to listen to my worries, takes time to consider them and gently gives me advice. I always leave her place feeling like a better person than what I had arrived as.

The bonus? She is a total crafty inspiration! Her taste is seriously cool, and she always has a quirky idea to try. We never 'plan' to craft, but needless to say, within 15 minutes of my arrival we are plotting our next creative adventure.

Last weekend was no different. On Sunday morning I arrived at her place, and she explained that the night before she had taught herself to crochet via YouTube! Oh boy was I excited! One of my pledges was to crochet a dishcloth and this would be my first step towards this goal. Little did I know however, what Mel had in mind. She whipped out her crocheting project, which was a granny square.

It took precisely 2.3 seconds for me to decide that I wanted to make Granny Squares and for her to teach me (I admit I am a tad impulsive) and another 4.6 seconds for us to realise we HAD to make a trip Spotlight to buy some wool.

Here is what I have achieved thus far:


Sam xox

Monday, June 21, 2010

Liberty of London fabric arrival.

I was so excited when Jamie came through the door with the mail today. Not because there were no bills (although that was exciting) but because he was carrying a small squishy parcel. He pulled a face and asked me if this was mine, knowing full well that it was and contained fabric!

I sat on the couch putting the parcel on the coffee table and stared at it for a second, only a second, then ripped into the package. The Liberty of London fabric I had purchased on eBay had finally arrived (I looove eBay)!

This is what I unwrapped...


Three beautiful pieces. So many possibilities...


These little beauties were sold as a Liberty 'scrap bag', but they are actually all very good sizes as most measure 7"by 13". And the scrap bag only cost me $14!


The Purl Bee has some excellent ideas for Liberty of London fabric. These are my favourites.


Sam xox

Monday, May 24, 2010

Upholstery and painting.

As most of you know, Jamie and I are "high school sweethearts". During our time at school we were lucky enough to take subjects like cooking, sewing, woodwork, and agriculture. These days I would give anything to have the chance to go back and re-do those subjects and actually listen to the teacher and learn a thing or two! Fortunately for me, Jamie was listening during these subjects, and crafted some pretty amazing woodwork pieces! This foot stool was one such project, and has for the past decade been sitting unloved, looking pretty sad, with a horrible brown vinyl cover (don't worry, Jamie feels the same way about the vinyl cover - I am not being cruel!).

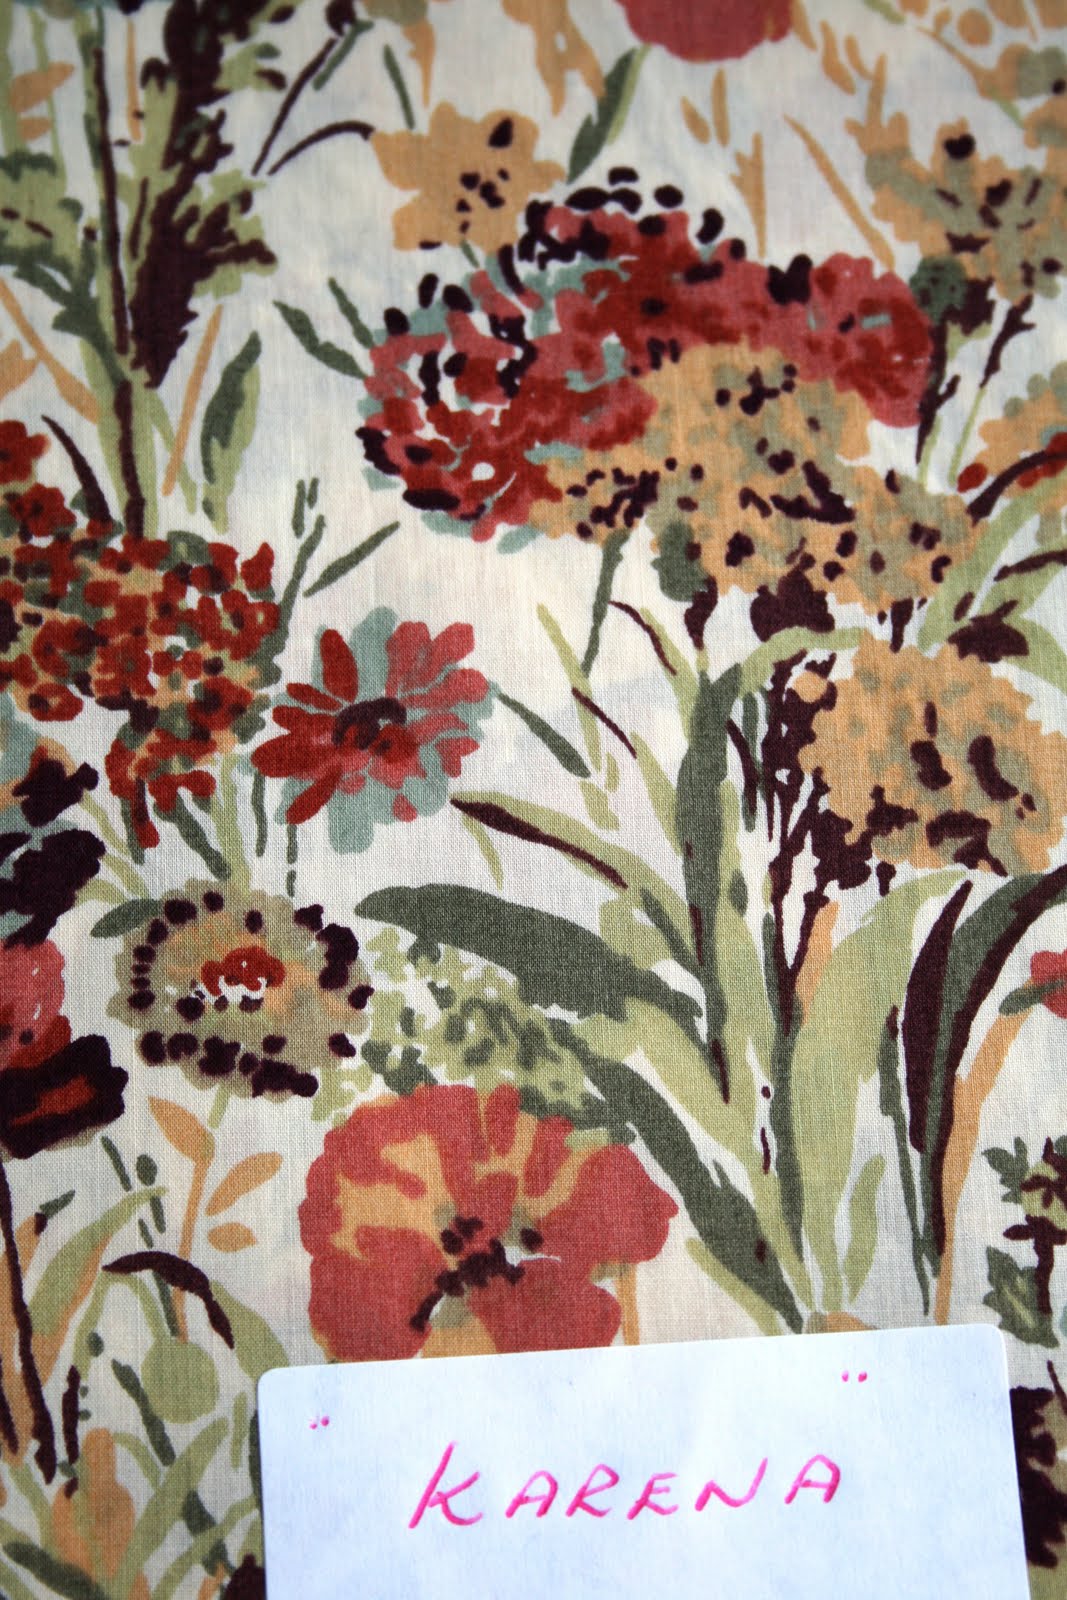
We have been talking about covering it with a nicer fabric, but you know how life gets and ... well ... we never ever got around to it. That was until yesterday! Remember that beautiful fabric I used for the cushion last weekend? Well, I had plenty left over, and found the perfect use for it!


My Volume 1 of MTAOFC finally arrived, and yes, it too was only 8" high! Their hight however is growing on me (excuse the pun) and now I think they are just the cutest little 700 page cook books!


Now, onto the main reason for this blog! I absolutely love the British Editions of Country Living magazine. I love these magazines (not only because they are styled so beautifully!) but also because they remind me of my time spent living in England, and all the amazing experiences I had over there, that sadly are just not available anywhere in Australia.


Recently I have found myself being drawn to a certain theme of photography within the pages of these magazines.

Country Living (British Edition) April 2010

Country Living (British Edition) March 2010

And within some of these photos, a common theme occurs... flowers and paints.

Country Living (British Edition) April 2010

Country Living (British Edition) April 2010

Country Living (British Edition) March 2010

I have decided to try my hand at painting. Now I cannot promise what the quality of my creations will be like (in fact, I have no idea how this will go) but I would love to give it a try! I went to a local art supply store this afternoon and picked up some basic supplies.

I have decided to begin with water colour paints, a small number of paint brushes, and a visual arts book with thick white pages. While I was studying the $16 water colour paint set in the store, the sales assistant came and asked "Would the paints be for a child or an adult?" After I answered "adult" she led me to the 'adult paint section' where water colour sets were being sold for over $100 for 12 paint tubes!!! I explained that whatever it was I was intending to create would in no way deserve $100 paints :-)


I am very excited about my new interest, and looking forward to spending this Saturday with my arty friend Mel (I am hoping she can give me a few pointers!!!).

Sam xox