Showing posts with label patterns. Show all posts

Wednesday, August 24, 2011

Sweet nothings.

~ A very nice lingerie & unmentionables sewing pattern book ~

Hi friends,

Life has finally settled down and I am getting my sewing mojo back. It's amazing ins't it how when you're life becomes hectic and chaotic, things slip away? I let my sewing slip away for too long, and it has made me sad :-(

My machines spent one month packed in a box, another month trying to find their place in the great mess that was our spare room, and admittedly the last few weeks being mostly ignored. Last weekend we were reunited, and I think I have been forgiven.

On Friday I had the day off work and made a point of tidying up and putting away the last few bits and pieces in my sewing room. It is now organised and ready for sewing projects which will just mess it up again. I placed all my patterns on my shelves, and fabrics in their piles. It was a good reminder of all the projects that have been patiently waiting to be made for these past three months.

In the afternoon I went to the Newcastle Craft and Sewing Show. The tag line for this even was "it's sew you"... but it just wasn't! None of the stalls in the 8 aisles inspired me. To be honest about 15 seconds after entering I wanted to run, as it all really wasn't my taste. However, a little voice in my head grumbled "you've just paid $7 parking and $14 entry to be here. You ain't leavin' yet!".

Most of the stalls were focused on either scrap booking or pre-packed quilt kits. Not that there is anything wrong with these crafts, but there really wasn't any stalls that catered to the dressmaking sewer.

Thanks to the little voice though I didn't turn and run. Hiding up the back of the room sat a book stand that was selling more craft/sewing books than I have ever seen in one space, and they were really reasonably priced. I browsed a number of pattern/dressmaking books and decided upon this one...


"Sweet Nothings" by Valerie Van Arsdale Shrader. A book about sewing unmentionables, complete with patterns galore. It was the first time I have found a sewing book dedicated to sewing unmentionable items that include patterns too! I am planning on making some French knickers and have purchased some wide stretch lace from Etsy which will hopefully arrive next week. I guess it is a little too early for me to be giving a book review as I have not yet sewn anything from it, but I have read it through word-for-word...

So this can be considered a pre-book review. And as any good book review (pre or not) wouldn't be complete without some sneak peaks inside the book, here are a couple of shots of whats under the cover (wow cheesy pun, I know)...

~ Some templates need to be enlarged using a photocopier ~

~ Pattern instructions come with detailed illustrations ~

~ Pyjama's made some a vintage sheet ~
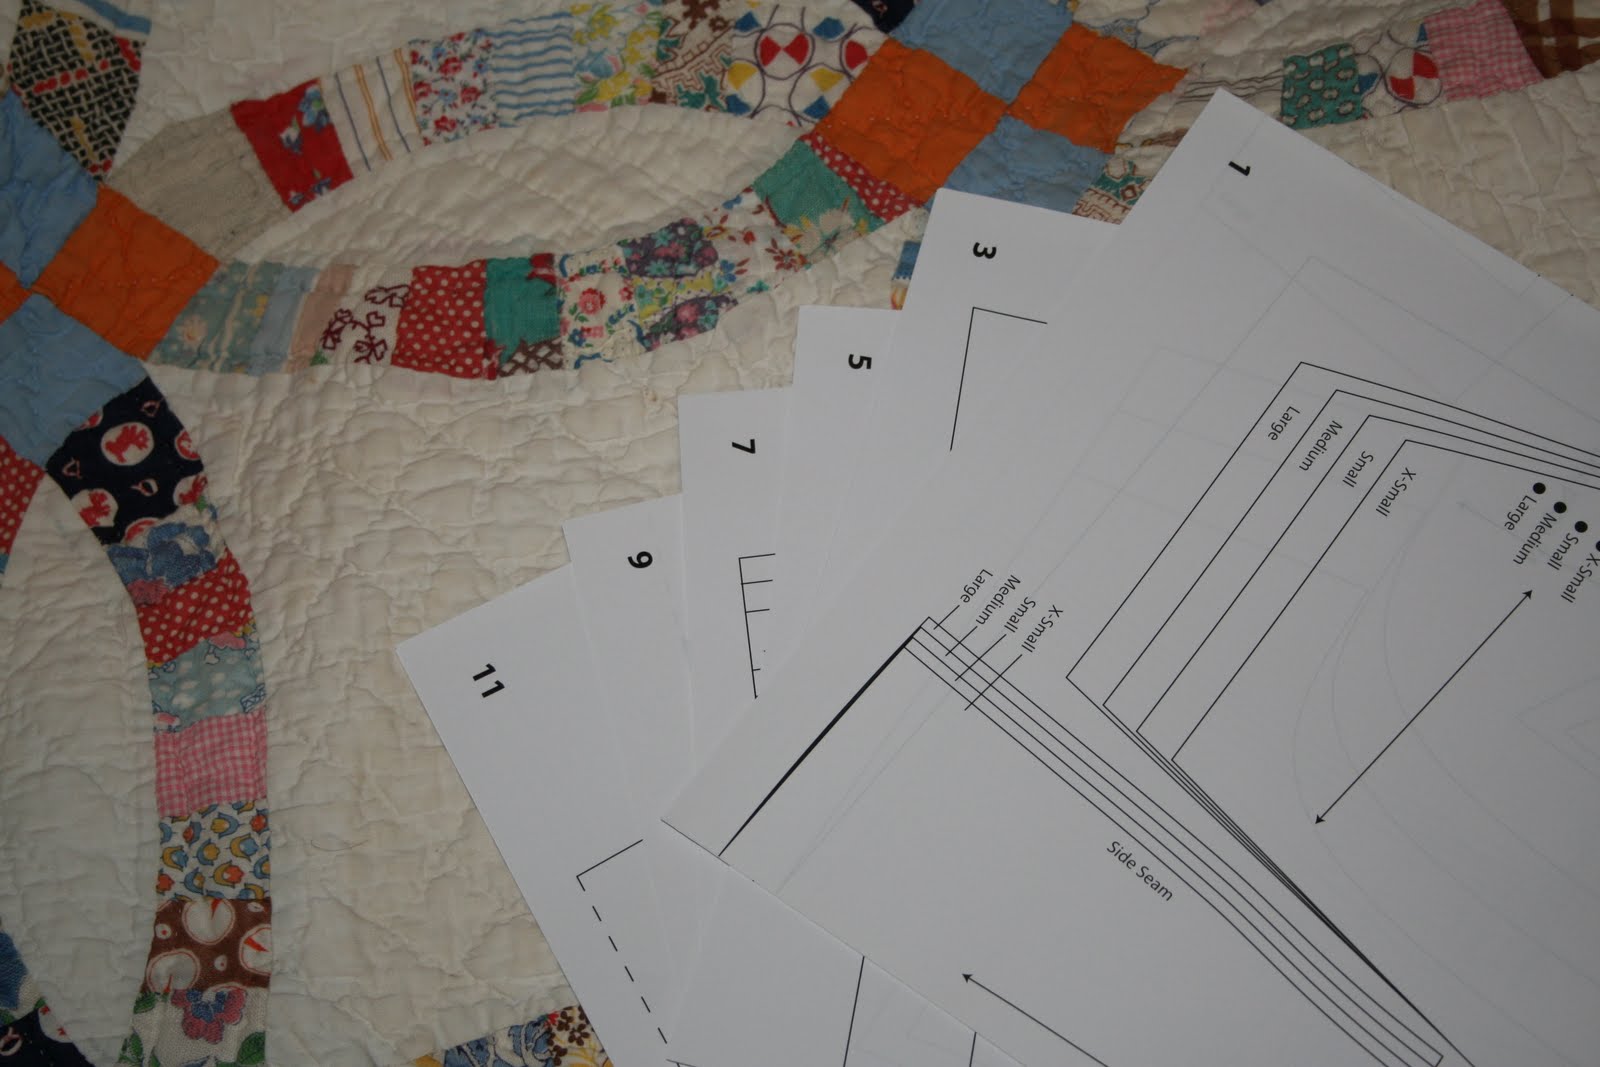
~ Double sided paper patterns are supplied too.
You simply trace them onto paper to use ~

You can check it out here on Amazon too.

Sam xox

Sunday, May 8, 2011

Projects in the works.

Yesterday morning I had brunch at my house and invited Michelle and Mill over to eat it. I made a recipe from my new gluten free cookbook (given to me by my father-in-law, who has totally embraced my new dietary requirements by the way! He is finding all sorts of awesome gluten-free products for me!). I made baked eggs on a bed of leeks, spinach leaves and ham, accompanied with grilled tomato and mushrooms. It tasted so good that it was gobbled up too fast to get a photo.

After breakfast we sat on the couch and soaked up the autumn sunshine that was filtering through the windows, and talked craft of course. We helped Mill brainstorm a knitted wedding gift for a close friend of hers. She decided on a knitting project from a magazine I had. We then planned our next craft day and the three of us agreed to do a skills trade (an idea we have seen a few times on the net) at the next craft day.

The girls left, and I was so pumped from all the crafty talk, I headed down to my reliable Remnants Warehouse and picked myself up some fabric. Silly me never realised that all the rolls of fabric in the bins out the front of the shop were actually priced for the entire length on the roll, and not per meter.


Here is what I got:


The classic Walk Away dress pattern in my size requires around 4 meters of fabric, which is quite a lot when most of the nicer fabrics in Sydney will cost you between $10-$20 per meter. I managed to find this burnt pink and black spotted cotton for under $5 per meter. I teamed it with some sweet little rounded black buttons. I didn't have the pattern with me so will need to buy the bias binding later in the week. I desperately want to sew this dress up in time for my mini break to Melbourne later this month.


I wear jeans all week at work during winter, so I am desperate to have a bunch of skirts I can team with tights to wear on the weekends. This fabric has a very classic print (the tag called it the "David Jones" print - any Australian will know what I am talking about). I will line the skirt with the black fabric. This pattern looks promising as it is only two pattern pieces, and my size requires only 1 meter of fabric, which makes these skirts cheap to make.


This fabric is not appropriate for winter, but I thought it could go in my stash for maybe a summer skirt or dress? It has a silky feel to it and a nice shine. I picked up 2 meters of it.


I thought this fabric was just so beautiful. I have been thinking of making a white dress for a while, but had neither the perfect pattern or fabric. Now I have the fabric. It is a lovely weight and has a beautiful lined detail.

I'm going to be a busy girl!

Sam xox

P.S Also wanted to say "Happy Mothers Day" to my fabulous Mum. Love you heaps!

Thursday, April 7, 2011

The Madeline mini bloomers.

I finally whipped up my first pair of Colette Patterns bloomers this weekend. These are the Madeline mini bloomers and the pattern is available for free on the Colette Patterns website.

I used a soft pink quilting cotton and some burgundy ribbon. I followed the pattern pretty loyally until I came to the leg elastic bit. Instead of the pattern, I sewed a simple tube hem and gathered very thin elastic in each leg. I then sewed some lace over the top of the hem stitching line, and finished it off with some ribbon bows.


This is a very easy pattern to follow and the result is a very comfortable fit. The bloomers do not cover a lot of leg (hence I did not model these) but the pattern could be easily adapted by lengthening the legs to make a cute pair of shorts, or even three-quarter pajama pants.

A pattern I will definitely make again.

Sam xox

Tuesday, February 22, 2011

Nutmeg.


A large yellow envelope was inside my letter box this afternoon.
Inside it was Nutmeg.
My first ever Colette Pattern.

The pattern envelop, well, I had never seen anything like it! Gone was the traditional boring white envelope folded at the top. Instead, this Colette Pattern envelope was more like a folder, made from vintage-look cream card, with soft pink print and side stitching detail that I discovered held in place the instruction booklet.

I wouldn't normally go so silly over a pattern envelope, but the attention to detail that has gone in to creating this envelope, well, it deserves some applause :-) For those of you who have not yet purchased any Colette Patterns yet, here is a peak at mine...


I have printed out the Colette Pattern's lace tutorials for the Nutmeg pattern in preparation for sewing this. Now I just need to find the perfect fabric and lace combo...

Has anyone sewn this pattern before or something like it? Any suggestions on fabric choice?

Sam xox

Tuesday, January 25, 2011

Casey's 1920's Chemise Top.

I thought it only fair to show you one of the garments that failed during the Sewing Triathlon. I attempted to make a chemise top following Casey's instructions. Everything was going well, the pattern was easy to draw, the fabric was perfect, and the pin tucks looked great. Unfortunately, once I sewed the lace trim along the top the whole thing was ruined. I had chosen the wrong lace for this kind of project. Ideally I should have purchased a stiff lace with a wide zigzag pattern. Instead the lace I bought was elasticised, straight, too large, and it flopped over itself when the garment was vertical. All in all not a good look.

I have heaps of the fabric left over so I will be making this top again, hopefully with the correct kind of lace this time. I do have a zigzag kind of lace but I am hesitant to use it because I think it is too plain.

My drafted pattern pieces.

The pattern.

My pin tucks and the lace in question.

The two laces I have. The top is the one that didn't work. The bottom I worry is too plain for this top.

My French seams - these worked!

Pluses:
- I loved that Casey's instructions were so clear and easy to follow. The pattern drafting was very easy and was a perfect fit.
- I learn how to sew pin tucks and French seams, both of which I had never sewn before.
- The fabric I chose was perfect for this top, and I know it will look great once it has the right lace to match.

Minuses:
- Choosing the correct lace seems key to the success of this garment. My lace failed.
- I had a little trouble with one of the French seams (I didn't clip it close enough to the first lot of stitches).
- This pattern may become addictive to make. It's so easy with beautiful results.

I would recommend this pattern! Click here to print one for yourself.

Sam xox

Sunday, January 23, 2011

Pendrell blouse #2.

My third finished item during our Sewing Triathlon was another Pendrell Blouse. I had already made a Pendrell blouse (View A) in a Liberty cotton so this time I wanted to try a fabric a little trickier! I found this fabric for only $5 per meter at my local fabric store. It is a poly-something and is very lightweight.

Here is my latest Pendrell Blouse - View B.


And the inside...


Sorry there are no photos of the blouse actually on, Jamie is away and I just couldn't manage to get a good one with the camera on 'timer'.

Pluses:
- I was really pleased with how I managed sewing such light weight fabric. I do not usually sew with delicate fabric, so I was pleased with how this turned out.
- I modified the sleeves on this blouse. I only used the larger sleeve for View B and decided not to gather it but sew it on just folded over into the shoulder seam. I think that the ruffle would have been too busy for this fabric.

Minuses:
- I hate man made fibers, so wearing this is super itchy and not good to wear in hot weather.
- As much as I am happy with the end product, I am unsure I will ever actually wear this top. It is too itchy to wear in warm weather, and too sheer for the cold. Shame.

Sam xox

Thursday, January 20, 2011

McCall's 5861 Bikini.

For my second item I made the McCall's bikini pattern I bought in December.

I used the 4-way stretch fabric I purchased from eBay for US$8 per yard. I bought 1 yard of this fabric and have enough left over to make at least another bikini - maybe in a different style.

My review:

Pluses:
- The 4 way stretch fabric was perfect for this project. It was surprisingly easy to sew with and didn't slip at all. It wasn't slippery against the elastic either.
- I used lingerie cups (swimwear approved) for the bikini top which I would recommend to all small chested ladies, as it creates a nice shape for the bandeau top.
- I altered the back of the bandeau top. The instructions told me to sew the back together, the result being a bikini top you had to slip over your head. Not for me. Instead I took inspiration from Seafolly swimwear and cut the back band so it became a narrow point and sewed in some plastic clips so it clips together at the back. This worked brilliantly.
- The bottoms were cut quite well. The back piece definitely has enough coverage (which I was a tad concerned about because I am pear shaped after all) everything stays in place back there!
- The biggest plus - it fits perfectly and when worn, does not look handmade at all! Saved myself $140 making these!

Minuses:
- The elastic was tricky to work with. What I found hard was stretching the elastic evenly as I sewed it on. This resulted in the elastic appearing to bunch at different spots. When worn however, this is not evident at all and the elastic and fabric is stretched evenly across the body and looks really smooth.
- I tried to be clever and sew the bottoms together in a different order than the instructions, and this resulted in side seams that are not quite perfect.

My verdict - A seriously awesome pattern for anyone wanting to make a bikini. I had this made within half a day, and it looks really cute on! Next time I am at the beach I might even take a picture for you all.


Sam xox

Tuesday, January 18, 2011

Simplicity skirt 2656.

Here is my first Sewing Triathlon project - Simplicity Skirt (2656).

My review:

Pluses:
- I learnt A LOT making this pattern. The skirt front is in three parts: waistband, pleated panel and yoke front. This was something I hadn't come across before so it was fun trying to work out how it all went together.
- The skirt also had pockets that button up. This was a challenge as I had never sewn pockets or button holes before. Initially I wasn't going to put the button holes in, and just sew on the buttons on top of the pocket fabric, but once the skirt was finished the pockets gaped really badly.
- The back of the skirt has darts and an invisible zipper. These I had done before so had no trouble there.
- I stay stiched the waistband lining and it looks really good.
- I love love love the fabric I used, and how it looks with the wooden buttons. The skirt is made from cotton fabric with grey and white pinstripes. It was sold in the quilting section of the material shop so it is the perfect weight for an autumn skirt.

Minuses:
- To be honest this skirt was a bit tricky to make, as it has a yoke front that a pleated panel is sewn onto. As a result the corners of the pleated panel are not quite square, so you can see tiny little bits of thread. Mill assured me with some more pressing it shouldn't be noticeable.
- As the waistband is only at the front of the skirt, I found it difficult to secure the waistband lining. I decided to overlock the edge of the inside waistband and sew a ribbon over it, this actually turned out to be a really nice touch!

All in all, would recommend this pattern!


* * * * * * *

I am now home again... but alone! Jamie is away on a cycling tour this week, and judging by his Facebook updates, is having a fantastic time. Today he did a 180km/112mile ride!

Doesn't he look cute in his bike kit?

Sam xox

Friday, January 14, 2011

Sewing homework - prepping for the triathlon.

For homework this week I have been organising myself for the sewing triathlon Mill and I will be having Sunday to Tuesday. Three days and two nights of sewing! I have 6 projects I am aiming to complete:
2) Another Pendrell Blouse
5) Madeline Mini Bloomers (free pattern)
6) 1920's Chemise Inspired Top (free pattern)

I have now laid out all the items needed for each project, and for sewing in general, on my spare bed...

Bikini ready to be made!

Only missing pocket lining for this skirt.

The very cute buttons I found for the pockets!

Retro quilt top and backing fabric (a sheet).

Sewing Bible!

Love this pattern.

These will be my cute pajamas for summer.

Close-up of the chemise top.

The total so far! So excited!

Looking at all the projects laid out like this gives me butterflies. Sunday just cannot get here fast enough!

I still need to buy a few final things for the day:
- Pocket lining for the skirt (in grey)
- Blouse fabric
- Quilt wadding
- White thread to tie the quilt with
- 1 yard bloomer fabric (in silk, chiffon, or georgette)
- 2 1/2 yard ribbon for bloomers
- 2 1/2 yard elastic for bloomers
- 2 yards of silk for the chemise top
- 1 1/2 yard antique-look lace for chemise top
- 1 1/2 yard ribbon for chemise top
- Sewing thread to match the above

Phew. Wish me luck!

Sam xox